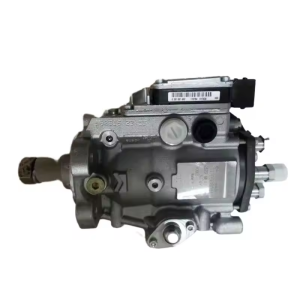
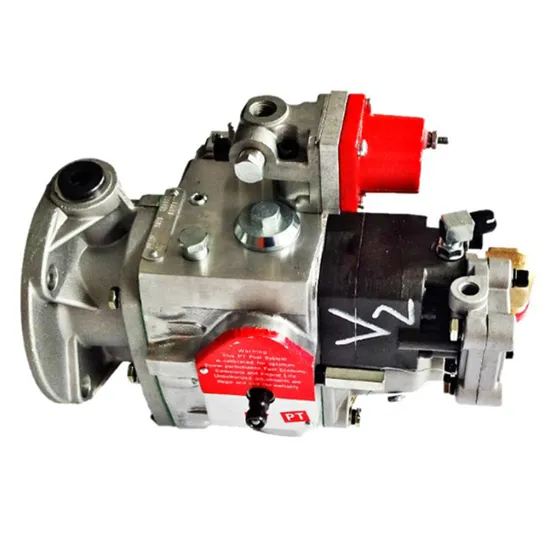
When it comes to maintaining the powerful Cummins KTA50 engine, one of the most crucial components is the high-pressure fuel pump. This part plays a vital role in ensuring consistent fuel delivery under high load conditions. Over time, wear and tear can cause performance issues, and knowing how to repair the pump properly is essential for engine longevity and efficiency.
We’ll walk you through the step-by-step process for repairing a KTA50 fuel pump, along with key precautions to avoid costly mistakes.
Why Fuel Pump Maintenance Matters
First of all, the fuel pump is responsible for delivering fuel at high pressure to the injectors. If it malfunctions, the entire engine’s performance can degrade—resulting in starting problems, power loss, and increased fuel consumption. Therefore, regular inspection and timely repair are critical.
Tools and Materials You’ll Need
Before beginning the repair, make sure to gather the following:
- Torque wrench
- Clean diesel fuel
- Replacement seals and O-rings
- Ultrasonic cleaner (for small parts)
- Genuine Cummins fuel pump repair kit
- Safety gloves and goggles
Having the right tools ensures a smoother repair process and prevents further damage.
Step-by-Step Fuel Pump Repair Procedure
1. Disassembly and Inspection
To begin with, disconnect the battery and carefully remove the fuel pump from the engine. Make sure to clean the surrounding area to prevent dirt from entering the fuel system.
Next, disassemble the pump piece by piece. Inspect the plunger, barrels, springs, and delivery valves for signs of wear or scoring. If any part appears damaged, it’s best to replace it with genuine Cummins parts.
2. Cleaning Components
After inspection, clean all reusable parts thoroughly. Use an ultrasonic cleaner if available, as it removes carbon buildup effectively without damaging precision parts.
Additionally, use lint-free cloths and avoid compressed air that could push debris into internal components.
3. Replacing Seals and O-Rings
Now, install new O-rings and seals from the Cummins repair kit. Be cautious during this step—using old or mismatched seals can result in leakage or pressure loss.
4. Reassembly and Torque Settings
Carefully reassemble the fuel pump, following manufacturer guidelines. Torque all bolts to the correct specifications to ensure tight seals and avoid warping the housing.
For reference, always consult the official Cummins KTA50 service manual to confirm the correct torque values.
5. Bench Testing (Optional but Recommended)
Before reinstalling the pump on the engine, bench test it if possible. This allows you to verify fuel pressure and flow consistency without risking engine damage.
Key Precautions During Repair
- Avoid contamination: Even small debris can damage the fuel system. Always work in a clean environment.
- Use OEM parts only: Non-genuine parts may not meet the engine’s high performance standards.
- Document your steps: Take photos during disassembly to help with reassembly.
Moreover, never attempt repairs without proper training—fuel systems operate under extremely high pressure and can be dangerous.
Final Thoughts
The Cummins KTA50 fuel pump is a complex but serviceable component. With careful attention to detail and proper tools, you can restore its performance and extend the engine’s service life. However, if you’re unsure, it’s wise to consult a certified Cummins technician.
For more Cummins engine repair guides, technical advice, and genuine replacement parts, feel free to explore our website or contact our expert support team.